How to Import settings from Charles proxy

Introduction
Are you a Charles Proxy user seeking a more streamlined experience? Requestly offers a simpler, more intuitive solution to manage your network requests with fewer manual steps and an easy-to-use interface. The best part? You don’t need to start from scratch. With just a few clicks, you can import all your existing Charles Proxy settings into Requestly, making the transition seamless. In this guide, we’ll walk you through the quick and easy steps to migrate your settings, ensuring you can start using Requestly without missing a beat.
Why Migrate from Charles proxy to requestly?
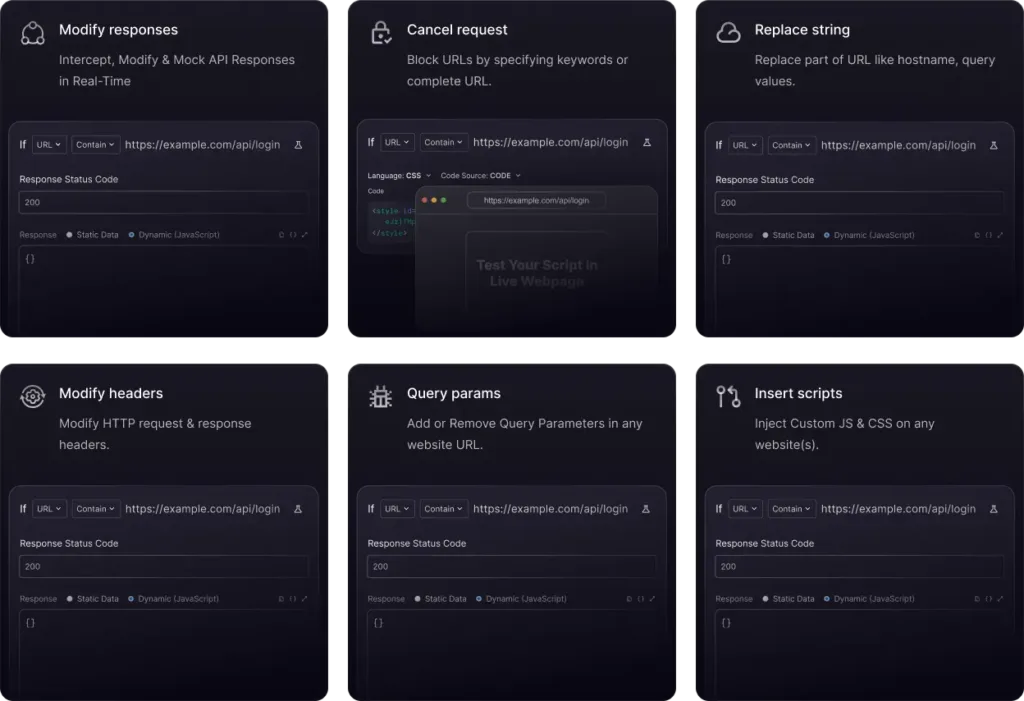
While Charles Proxy is a powerful tool for network monitoring and debugging, its complexity can be overwhelming, especially for users looking for a more straightforward solution. Additionally, Charles Proxy does not offer a browser extension, limiting its accessibility for quick, in-browser modifications. Requestly, on the other hand, offers an easy-to-use platform packed with features that can be a game-changer during development:
Migrate from Charles proxy
Requestly currently supports the following tools that you can import from Charles Proxy:
- Rewrite
- Map Local
- Map Remote
- No Caching
- Block lists
- Block Cookies
Steps to import
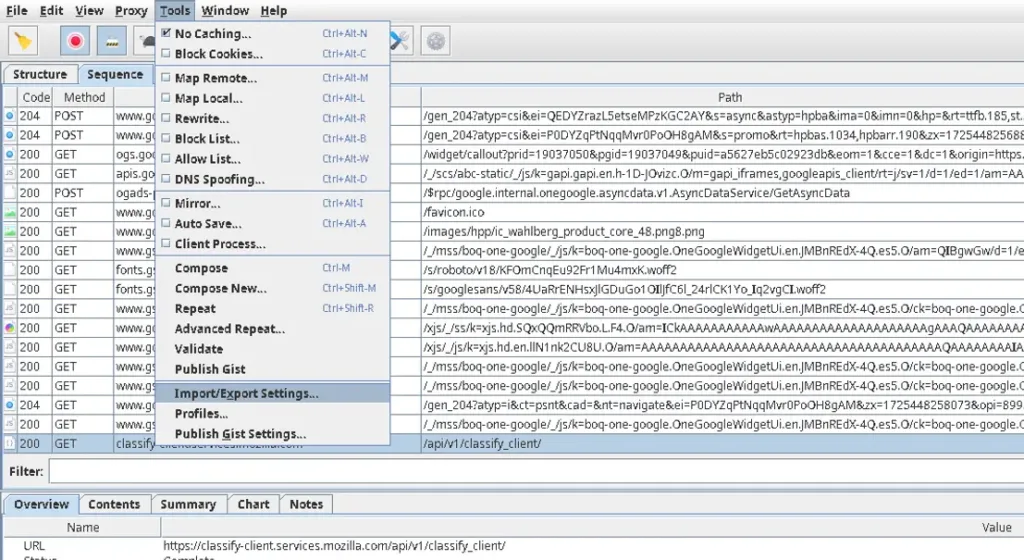
- Export Settings from Charles Proxy Open Charles Proxy and navigate to the top menu bar. Click on
Tools > Import/Export Settingsto begin exporting your current tool settings.
Choose Tools to Export
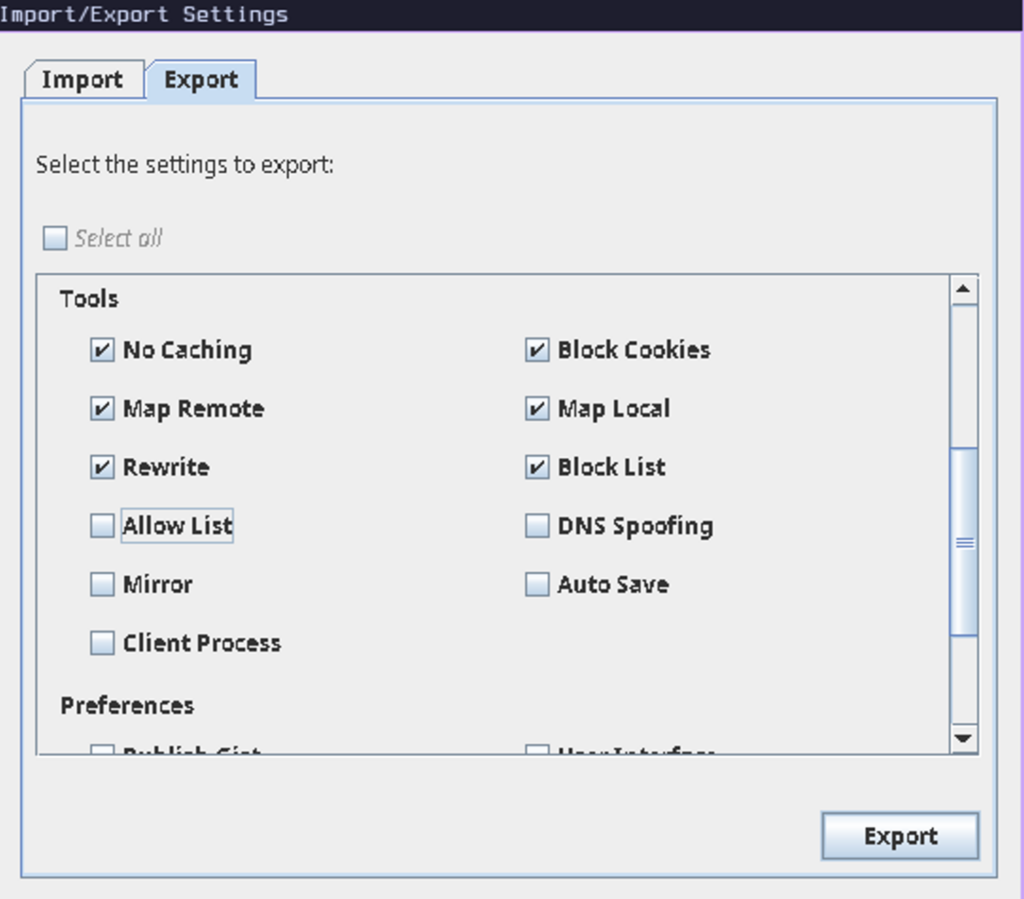
In the popup window, switch to theExporttab. Under theToolssection, select the specific tools you want to export (e.g., Rewrite, Map Local, Block Lists, etc.). Once selected, clickExportto generate the settings file.
- Log in to your Requestly dashboard. If you’re a new user without any rules, you’ll see an option to
Import Settings from Charles Proxyright away. You can also access the import tool directly from this link: Import Settings from Charles Proxy.
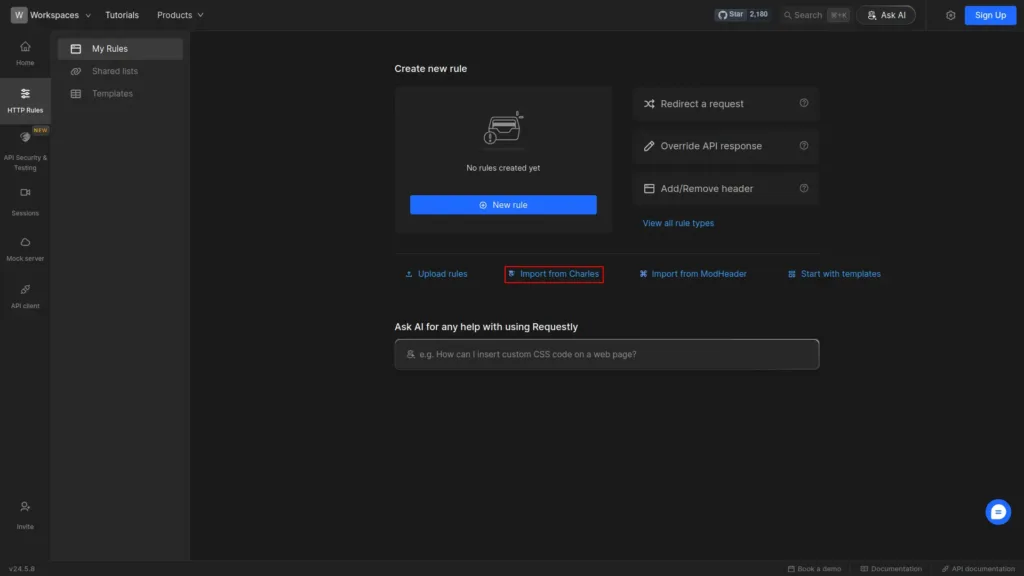
- Upload Your Exported File Drag and drop the exported Charles Proxy
.XMLfile into the import tool in Requestly, or clickUploadto select the file from your computer.
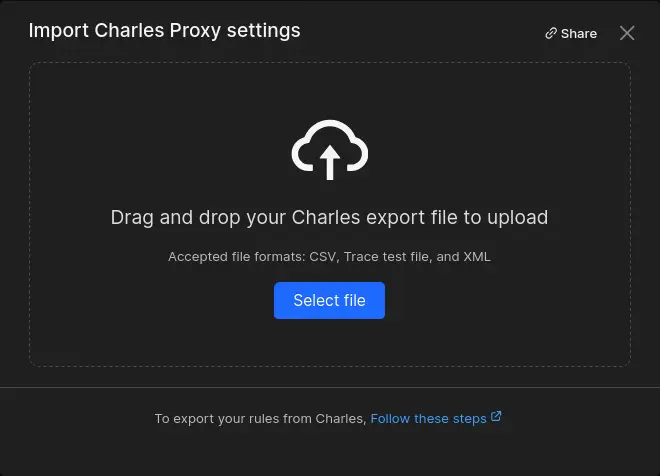
- Convert Charles Proxy Settings to Requestly Rules Once the file is uploaded, Requestly will automatically convert your Charles Proxy settings into its own set of rules. You’ll be able to review and edit these rules as needed, making the transition smooth and efficient.
Explore More
Contents
Subscribe for latest updates
Share this article
Related posts


