How to build your own Chrome Extension to Modify HTTP Headers

Your lightweight Client for API debugging
No Login Required
Requestly is a web proxy that requires a desktop and desktop browser.
Enter your email below to receive the download link. Give it a try next time you’re on your PC!


HTTP headers are vital elements in web communication, providing additional information about requests and responses. When a web browser sends a request to a server, it includes headers containing important details. These headers specify the requested resource, preferred language, expected response data type, and more. Likewise, when the server responds, it includes headers that convey information about the returned data, such as its content type, size, and caching directives.
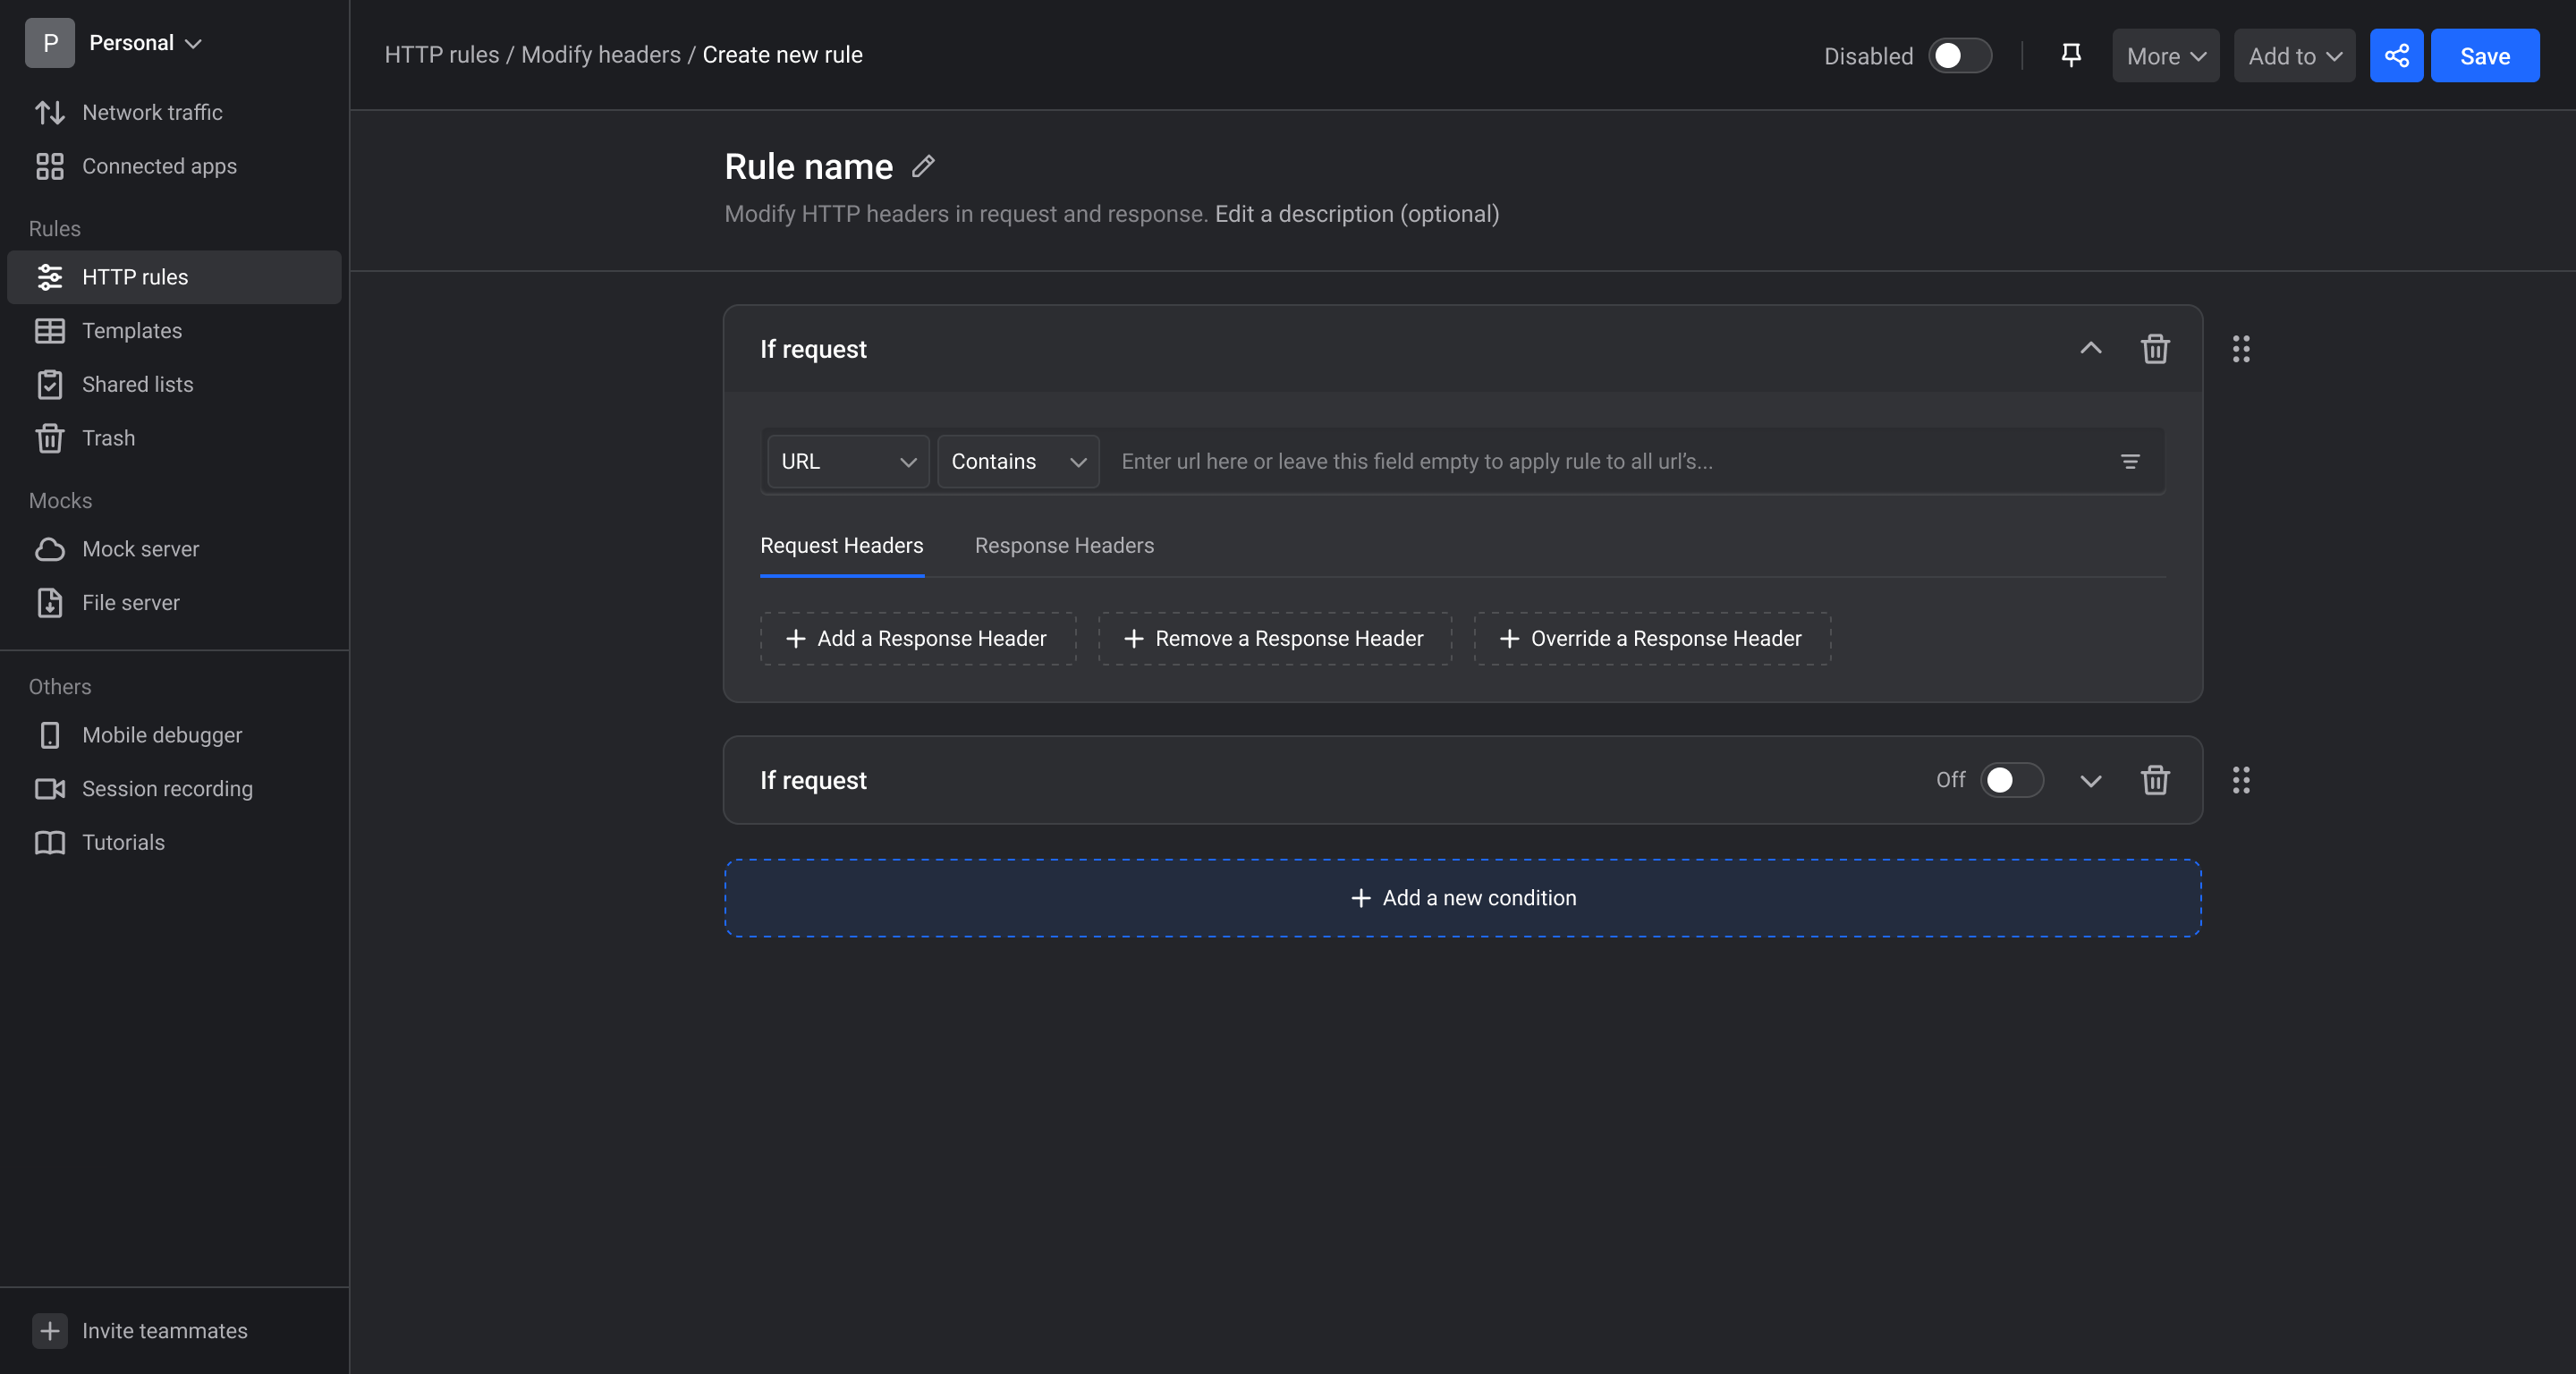
There are a variety of use cases for which you need a tool to modify HTTP headers. You can directly use Requestly to modify HTTP headers in browsers & mobile apps but if you’d like to roll out your own chrome extension to modify headers, read along.
We’ve an open-source Github repo that helps you get started to build chrome extension to modify headers. We will use the code from the same Github Repo in rest of this article.
Building Chrome Extension to Modify Headers
Now, Let’s start our exciting journey of building our very own Chrome Extension to Modify HTTP Headers.
Step1. Define manifest.json file
The manifest.json file is the first step for building a Chrome extension. It’s a JSON file that describes the extension’s configuration, permissions & other settings serving as the foundation for the project. Let’s create one for our extension.
The manifest.json file includes several key-value pairs that define various aspects of the extension. These include:
- “name”: The name key specifies the name of the extension. In this case, it is “Requestly: Modify Headers POC (MV3)”. A clear and descriptive name helps users understand the purpose of the extension.
- “description”: The description key provides a brief explanation of the extension’s functionality. In this example, it mentions that the extension is a POC for modifying headers using Manifest V3. This helps users understand the extension’s purpose before installation.
- “version”: The version key indicates the version number of the extension. It allows developers to track and manage updates effectively. In the provided example, the value __VERSION__ represents a placeholder that will be replaced with the actual version number.
- “manifest_version”: The manifest_version key specifies the version of the manifest file format. In this case, it is using version 3, denoted as “manifest_version”: 3. Manifest V3 introduces changes and enhancements to the extension framework.
- “background”: The background key configures the background behavior of the extension. It specifies that a service worker called “background.js” will be used as the background script. It runs silently in the background, enabling the extension to perform necessary tasks.
- “icons”: The icons key defines the icons used for the extension. Different sizes are specified, such as 16×16, 48×48, and 128×128 pixels. These icons contribute to the visual identity of the extension and enhance its overall appearance.
- “permissions”: The permissions key lists the permissions required by the extension. In this example, it requests the “declarativeNetRequest” permission. This permission enables the extension to utilize the DeclarativeNetRequest API, which allows modifying network requests.
- “host_permissions”: The host_permissions key specifies the host permissions required by the extension. The <all_urls> value indicates that the extension requires access to all URLs. This access ensures the extension can modify headers for any requested resource.
- “content_security_policy”: The content_security_policy key configures the content security policy for the extension’s pages. It helps protect against security vulnerabilities by defining the allowed sources for scripts. In this example, it permits scripts from ‘self’ (extension’s origin) and ‘https://firebasestorage.googleapis.com‘.
Step2. Create rules.ts – Define DNR API Rules to Modify Headers Declaratively
We will use The DeclarativeNetRequest (DNR) API for modifying network requests in a declarative manner(“declarative” means that developers can specify the desired modifications to be made to network requests using a set of rules. Rather than writing complex code to intercept and modify requests manually).
DNR API enables extensions to control network requests in a more efficient and privacy-conscious manner. It can be used to set up rules like redirects, blocking requests, modifying headers, etc. without complex code or manual interception. We will only setup rules for modifying headers in this tutorial.
Here’s an example of the rules.ts file:
Each rule includes an id, priority, action, and condition. The action specifies the header modification type (e.g., modifying request or response headers) and the desired changes. The condition determines when the rule should be applied based on URL filters and resource types.
Step3. Create Background.ts – Pass on DNR Rules to DNR API
Once we define the rules object, next step is to pass those rules to the DNR API.
Here’s a sample code that imports the rules and provides to DNR API.
- **import rules from ‘./rules’;**: This line imports the rules array from the rules.ts file. The rules array contains a set of rules that define how headers should be modified.
- chrome.declarativeNetRequest.updateDynamicRules({}): This is a method provided by chrome.declarativeNetRequest API which modifies the current set of dynamic rules for the extension by removing rules with specified IDs and adding new rules with options.addRules
- removeRuleIds: rules.map((rule) => rule.id): This property specifies the rule IDs that need to be removed before applying the new rules. It uses the map() method to extract the id property from each rule in the rules array. addRules: rules: This property specifies the new rules that should be added. It uses the rules array imported from the rules.ts file.
Step3. Verification of Header Modifications
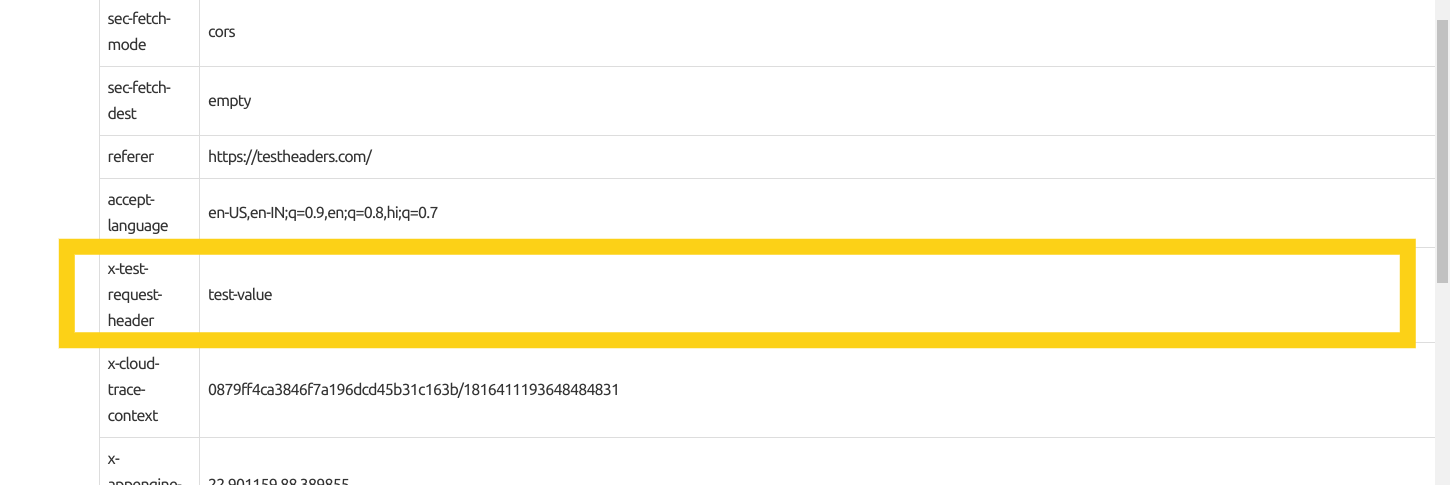
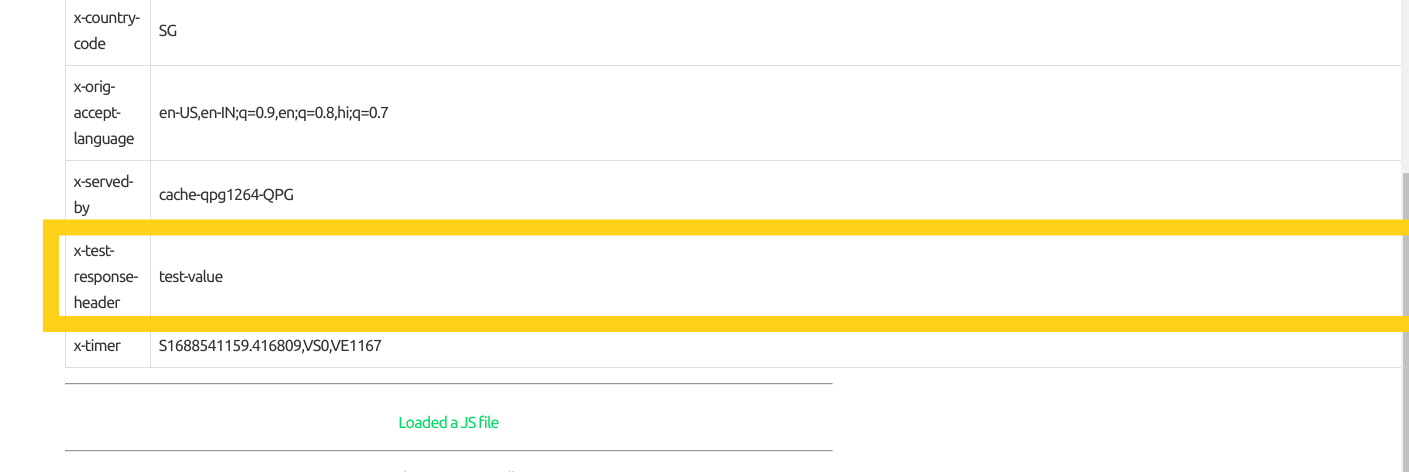
To verify that the header modification is indeed taking place, we can examine the network requests and responses using a tool like https://testheaders.com/. By making a request to a specific URL or triggering a relevant action, you can observe the modified headers in the request and response headers section.

In the above screenshot, it is evident that the x-test-request-header header has been successfully added to the request

Similarly, in the same manner, we can observe that the x-test-response-header has been added to the response.
These modifications confirms that the code snippet has effectively modified the headers as intended, demonstrating the capability of the Chrome extension to control and manipulate the headers exchanged between the web browser and the server.
Link to GitHub Repository: https://github.com/arnab2001/modify-headers-manifest-v3
Exploring the repository allows you to delve deeper into the implementation details and provides the opportunity to further customize the extension according to your specific needs and requirements.
Conclusion
In conclusion, writing the basic code for modifying HTTP headers using the DeclarativeNetRequest (DNR) API is relatively easy and straightforward. However, the real complexity arises when you need to build a user interface (UI), store configurations, and add URL conditions to create a comprehensive and user-friendly Chrome extension. Designing and implementing a UI that allows users to manage header modifications, persistently storing configurations, and selectively applying modifications based on URL patterns require additional effort and considerations.
If you prefer a quicker solution without building your own extension, Requestly is a powerful tool that allows you to modify HTTP request and response headers. With Requestly, you can easily configure and manage header modifications without the need for extensive coding and development. It provides a user-friendly interface and a wide range of features to customize and control HTTP headers.

Contents
Subscribe for latest updates
Share this article
Related posts
Get started today
Requestly is a web proxy that requires a desktop and desktop browser.
Enter your email below to receive the download link. Give it a try next time you’re on your PC!


