How to do selenium automation testing using requestly

The @requestly/selenium npm package is deprecated. Follow these instructions to use Requestly in your automation framework.
Explore how Selenium automation testing with Chrome can significantly improve the reliability and consistency of your application’s performance. By simulating various network conditions and user interactions, Selenium helps optimize your app across different environments. This guide will walk you through how to effectively use Selenium with Chrome to enhance your testing process and overall software quality.
Why Test for Different Network Conditions?
While developing applications, we experience performance based on our home network and we optimize the performance with our network in reference. We fail to consider performance optimizations for situations where there could be an unstable network or low network coverage.
Testing our application for different network conditions helps us optimize our applications for them thus improving the overall UX.
Now, these can be done via the built-in dev tools’ network tab in the browser, publicly available APIs that respond with delay, browser extensions that add delay to the network request, and other similar methods.
So what’s the need to automate then?
Because automation is fun. Why do something manually when you can just automate that with a code snippet written taking a decade long time ” clears throat “
How to Test for Different Network Conditions
We can use tools like Selenium and Requestly to streamlines the process, making it more efficient to cover a wide range of network conditions and optimize the application accordingly.
Selenium
Selenium is a popular open-source tool for automating web browsers. It allows developers to write tests in various programming languages to simulate user interactions with web applications. Selenium supports multiple browsers and platforms, making it a versatile choice for web automation testing.
Selenium WebDriver is a key component of the Selenium, providing a programming interface to create and execute automated tests on web applications. It directly interacts with the browser, offering greater speed and efficiency compared to other Selenium tools.
Installing Selenium WebDriver
To set up Selenium WebDriver, install it via npm:
npm install selenium-webdriver
Requestly
Requestly is a popular open-source tool for interception and modifying network requests. It enables you to simulate various network conditions, block specific requests, and modify headers. Integrating Requestly with Selenium WebDriver enhances your automated testing by allowing you to control network traffic during tests.
Using Requestly with Selenium
Follow these steps to set up Requestly with Selenium:
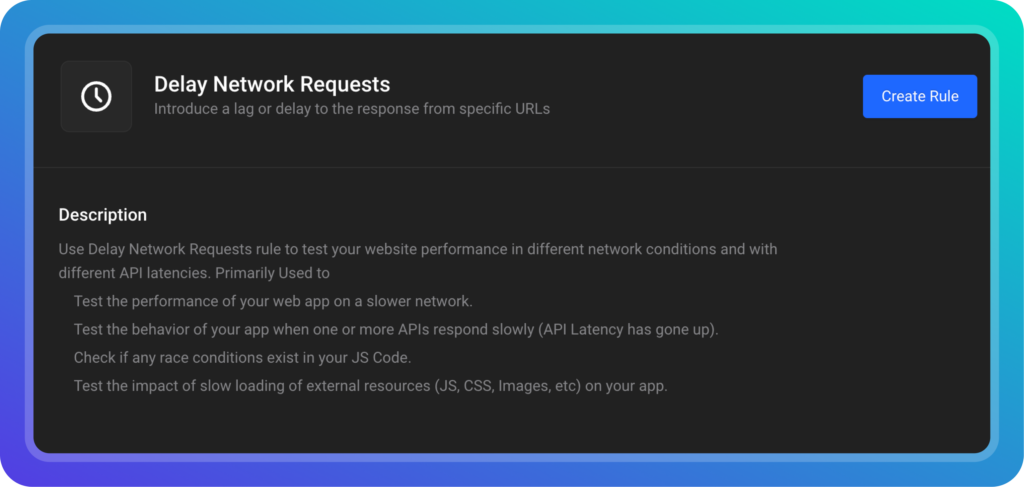
Step 1: Create a Rule in Requestly
- Open the Requestly extension in your browser.
- Create a new rule based on your testing needs (e.g., throttling, blocking requests).
- Save the rule.
Step 2: Request for an API Key for Requestly
Request your API key here.
Step 3: Download the Requestly Extension
Download the Requestly extension file according for your browser from the Requestly GitHub repository.
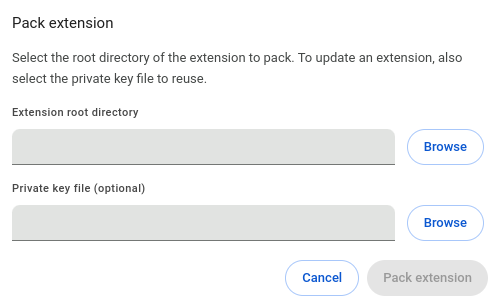
Step 4: Convert the Extension to CRX Format (Chrome Only)
- Open Chrome and navigate to
chrome://extensions/. - Enable “Developer mode” in the top right corner.
- Click
Pack Extensionand select the Requestly extension directory. - Save the generated
.crxfile.
Step 5: Integrate Requestly with Selenium
Step 5.1: Import Necessary Modules
					const { Builder, By, until } = require('selenium-webdriver');
const { Options } = require('selenium-webdriver/chrome');
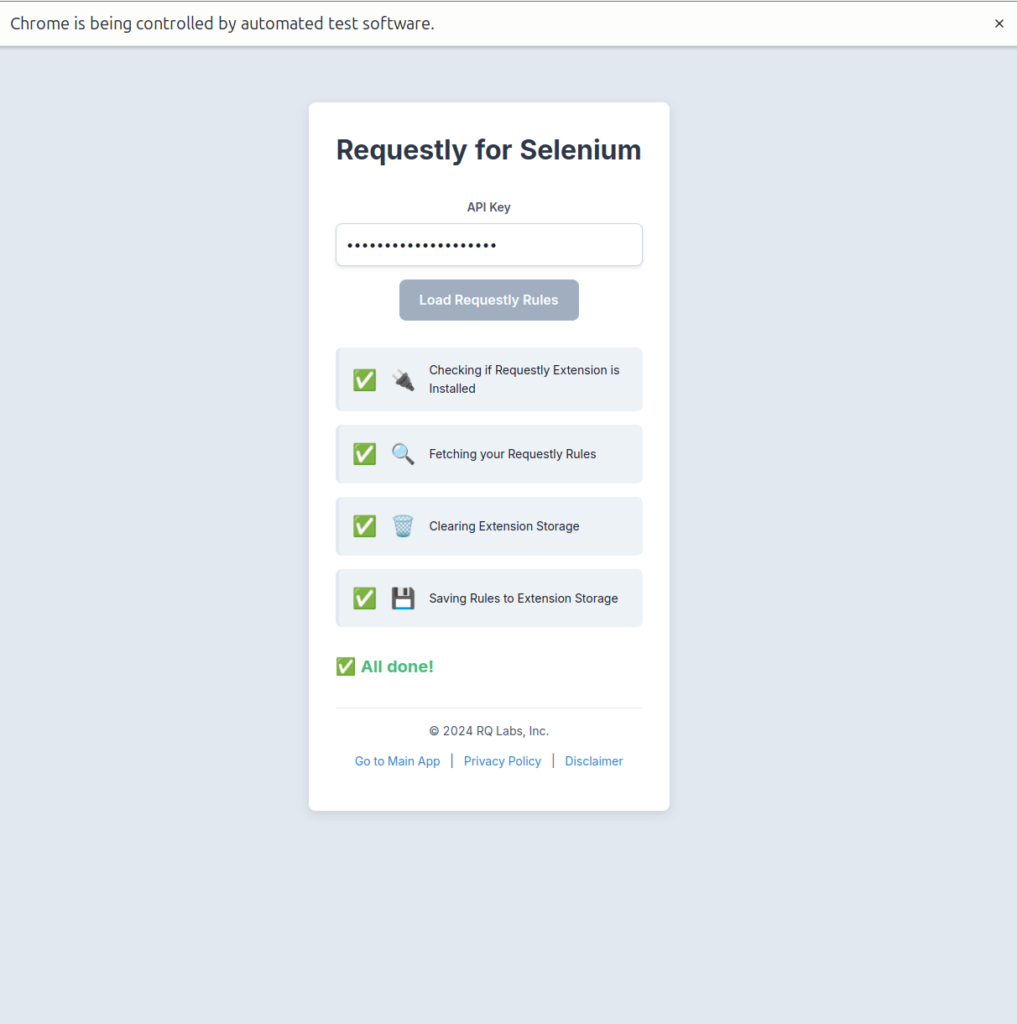
Step 5.2: Define the importRequestlyRules Function
					const importRequestlyRules = async (driver, apikey) => {
  try {
    // Close any additional tabs
    const tabs = await driver.getAllWindowHandles();
    if (tabs.length > 1) {
      await driver.switchTo().window(tabs[0]);
      await driver.close();
      await driver.switchTo().window(tabs[1]);
    }

    // Navigate to the Requestly Selenium Importer page
    await driver.get("https://app.requestly.io/selenium-importer");

    // Enter the API key
    let apiKeyInput = await driver.wait(until.elementLocated(By.id("apiKey")), 10000);
    await apiKeyInput.sendKeys(apikey);

    // Click the action button to import rules
    let apiKeyButton = await driver.wait(until.elementLocated(By.css(".action-button")), 10000);
    await apiKeyButton.click();

    // Check for the all-done message
    const maxRetries = 10;
    const retryDelay = 5000;
    let retries = 0;

    while (retries < maxRetries) {
      try {
        let allDoneMessage = await driver.findElement(By.css(".all-done-message"));
        if (await allDoneMessage.isDisplayed()) {
          break;
        }
      } catch (error) {
        // Element not found, continue retrying
      }
      retries++;
      await driver.sleep(retryDelay);
    }

    if (retries === maxRetries) {
      console.log("All done message not found after multiple retries.");
    }

  } catch (error) {
    console.error("An error occurred:", error);
  }
};
Step 5.3: Set Up the Selenium Driver
					const options = new Options().addExtensions("Path_To_Extension.crx");

let driver = await new Builder()
.setChromeOptions(options)
.forBrowser('chrome')
.build();

await importRequestlyRules(driver, 'YOUR_API_KEY_HERE');

driver.get("http://www.google.com/"); // replace this with your test destination

drive.close()
Now, if you try to run the function, you would have the exact behavior as before but with a lot more control over all the network requests and without any downside.
You, my friend, are a power user now 😉.
Contents
- Why Test for Different Network Conditions?
- How to Test for Different Network Conditions
- Selenium
- Installing Selenium WebDriver
- Requestly
- Using Requestly with Selenium
- Step 1: Create a Rule in Requestly
- Step 2: Request for an API Key for Requestly
- Step 3: Download the Requestly Extension
- Step 4: Convert the Extension to CRX Format (Chrome Only)
- Step 5: Integrate Requestly with Selenium
- Step 5.1: Import Necessary Modules
- Step 5.2: Define the importRequestlyRules Function
- Step 5.3: Set Up the Selenium Driver
Subscribe for latest updates
Share this article
Related posts
