
Home / Blog / API Client
API ClientHow to Run API Tests in CI/CD (with Reports)
Running API tests on your laptop catches bugs you already know to look for. Running them automatically on every push catches the ones you do not. Wiring API tests into a continuous integration / continuous delivery (CI/CD) pipeline means every commit gets validated, every pull request shows a pass/fail status, and broken endpoints are blocked before they ship.
This guide shows you how to run API tests in GitHub Actions, GitLab CI, and Jenkins, and - just as importantly - how to produce JUnit and HTML reports so the results are visible, not buried in raw logs.
The shape of a CI/CD test job
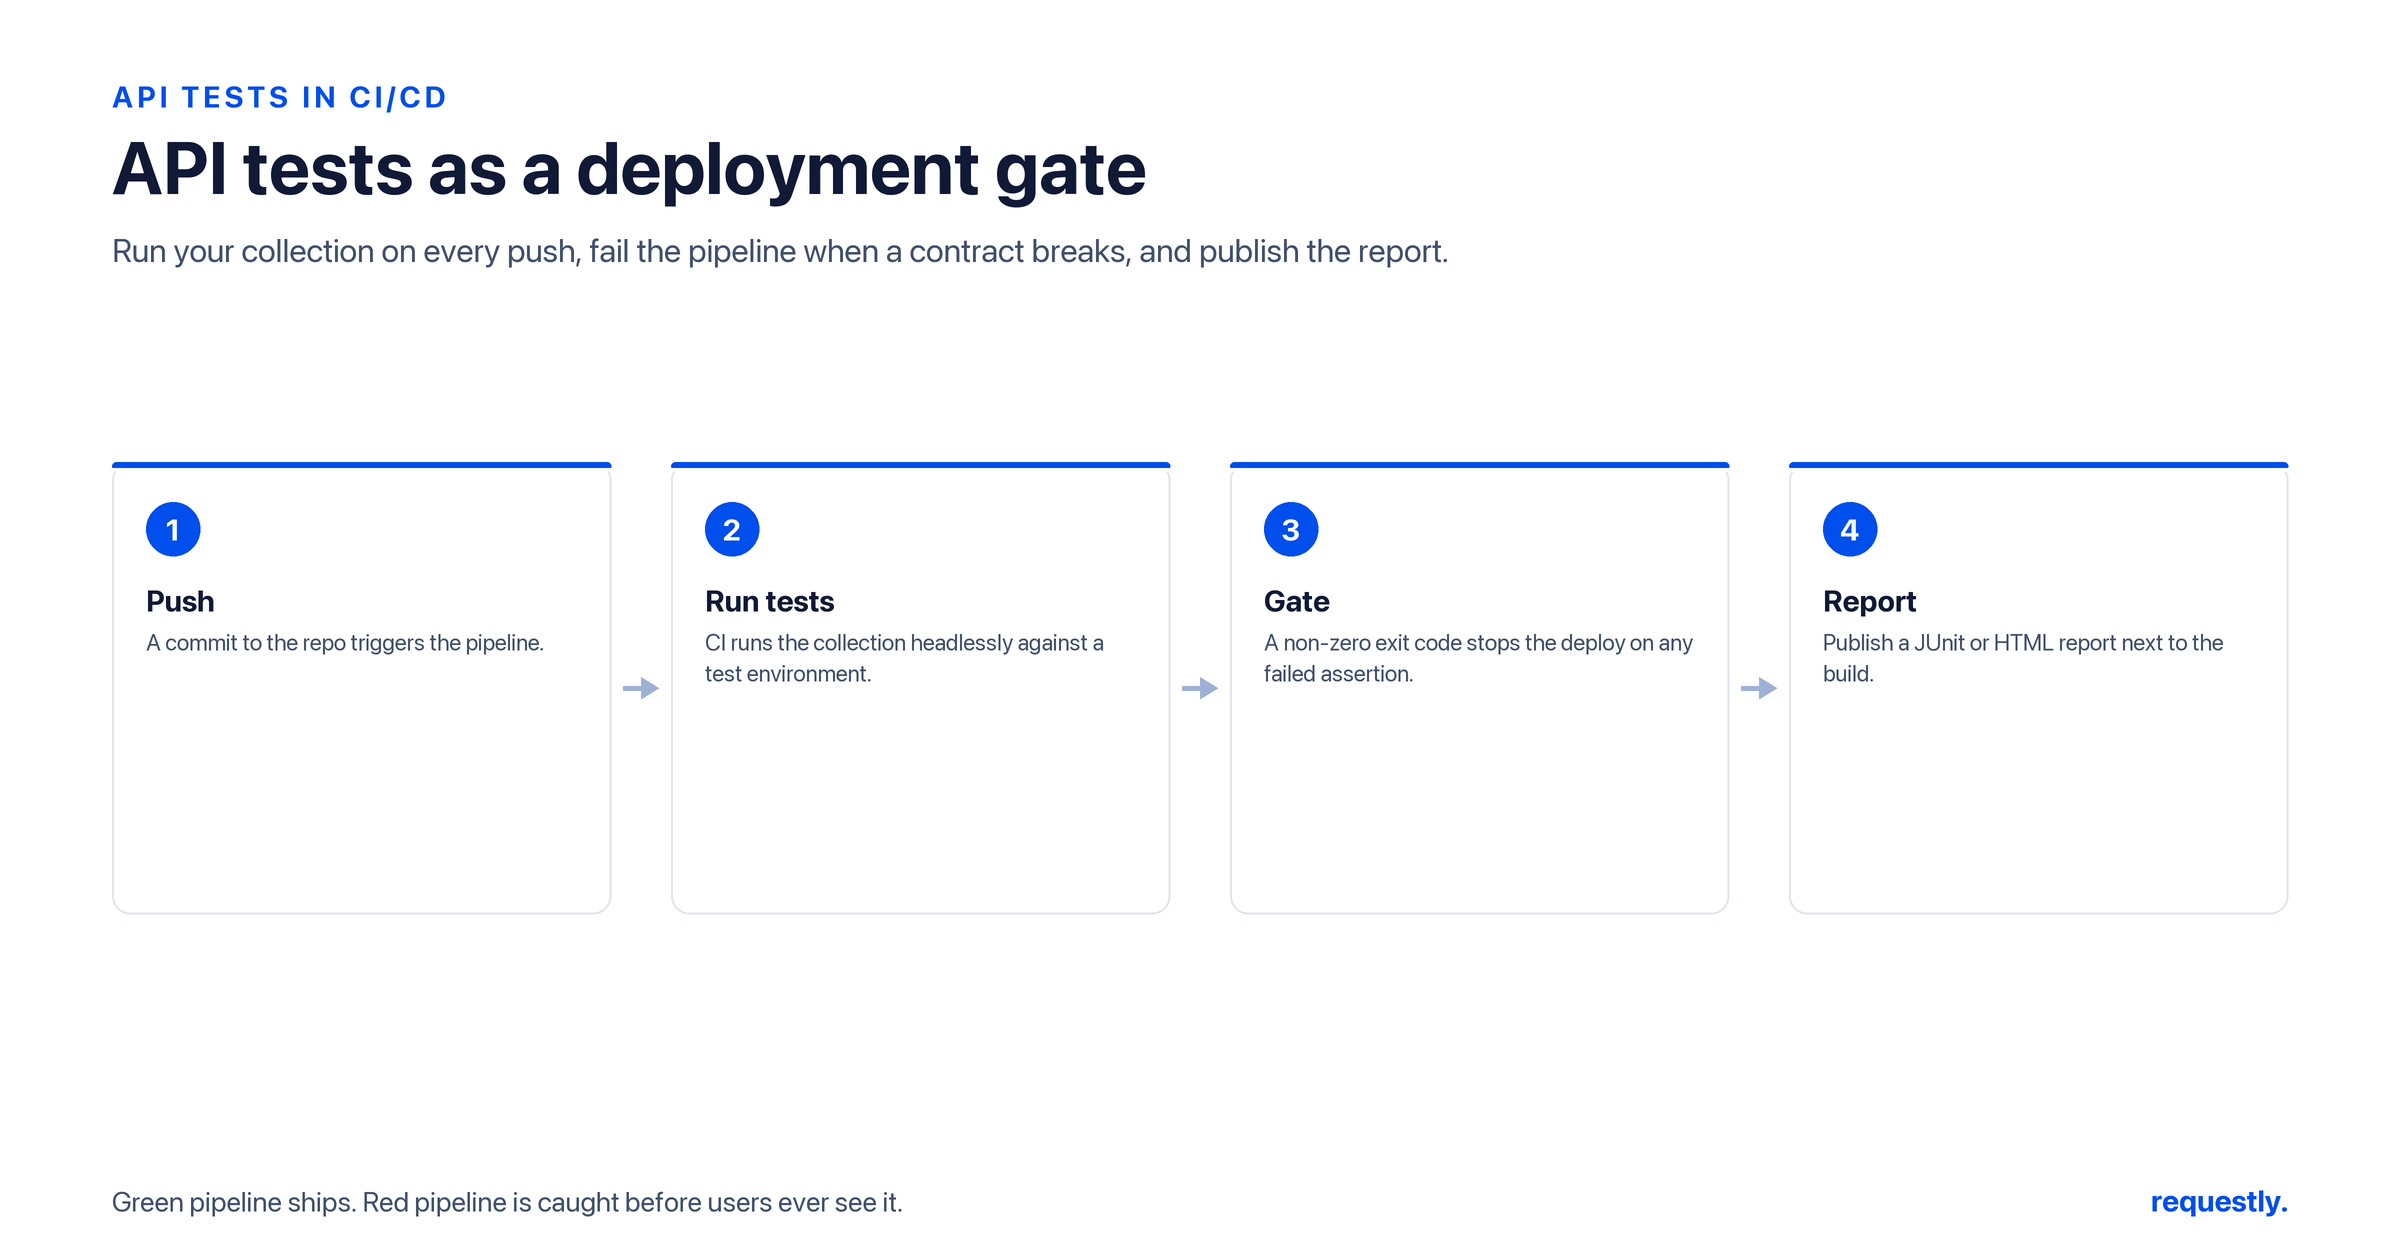
Every pipeline, whatever the vendor, follows the same four steps for API testing:
- Check out the repository containing your tests.
- Install the runner (Newman, k6, or similar) and any dependencies.
- Execute the tests against a target environment, failing the job on any assertion failure.
- Publish a machine-readable report (JUnit XML) and often a human-readable one (HTML).
The runner doing the work is a command-line tool. If you have not set one up yet, start with our guide on how to run API tests from the command line - CI/CD simply runs that same command on a server.
GitHub Actions
A workflow file in .github/workflows/ runs your tests on every push and pull request. This example installs Newman, runs a collection, and writes a JUnit report:
name: API Tests
on: [push, pull_request]

jobs:
  api-tests:
    runs-on: ubuntu-latest
    steps:
      - uses: actions/checkout@v4
      - uses: actions/setup-node@v4
        with:
          node-version: "20"
      - name: Install Newman
        run: npm install -g newman
      - name: Run API tests
        run: |
          newman run collection.json \
            --environment ci.postman_environment.json \
            --reporters cli,junit \
            --reporter-junit-export results/junit.xml
      - name: Publish test report
        if: always()
        uses: actions/upload-artifact@v4
        with:
          name: api-test-report
          path: results/junit.xml
The if: always() on the upload step ensures the report is saved even when tests fail - which is exactly when you most want to read it. Because Newman exits non-zero on failure, the job turns red and the pull request is blocked.
GitLab CI
GitLab reads a .gitlab-ci.yml file and has first-class support for JUnit reports, surfacing failures right in the merge request UI:
api-tests:
  image: node:20
  script:
    - npm install -g newman
    - newman run collection.json --environment ci.postman_environment.json --reporters cli,junit --reporter-junit-export results/junit.xml
  artifacts:
    when: always
    reports:
      junit: results/junit.xml
    paths:
      - results/
The reports: junit: key is what makes GitLab parse the XML and display per-test results on the pipeline and merge-request pages.
Jenkins
In a declarative Jenkinsfile, the junit step ingests the XML and the publishHTML step (from the HTML Publisher plugin) attaches a browsable report:
pipeline {
  agent any
  stages {
    stage('API Tests') {
      steps {
        sh 'npm install -g newman newman-reporter-htmlextra'
        sh '''newman run collection.json \
              --reporters cli,junit,htmlextra \
              --reporter-junit-export results/junit.xml \
              --reporter-htmlextra-export results/report.html'''
      }
    }
  }
  post {
    always {
      junit 'results/junit.xml'
      publishHTML(target: [reportDir: 'results', reportFiles: 'report.html', reportName: 'API Report'])
    }
  }
}
Generating reports developers will actually read
There are two report formats worth producing, and they serve different audiences:
JUnit XML (for the machine)
JUnit XML is the lingua franca of CI test reporting. GitHub, GitLab, Jenkins, and most other systems can parse it to show which individual tests passed or failed, track flaky tests, and annotate pull requests. Always emit it.
HTML (for the human)
An HTML report is a self-contained page that summarizes the run with timings, request/response details, and pass/fail counts. With Newman, the community newman-reporter-htmlextra reporter produces a polished one:
npm install -g newman newman-reporter-htmlextra

newman run collection.json \
  --reporters cli,junit,htmlextra \
  --reporter-junit-export results/junit.xml \
  --reporter-htmlextra-export results/report.html
Reporting with k6
If you run k6 instead of Newman, it can emit JSON and CSV out of the box, and JUnit XML via a small handleSummary() script, so the same “publish a report” steps apply. The principle is identical: produce a structured file, then let the CI system render it.
# Write a JSON summary that downstream tooling can parse
k6 run --summary-export results/summary.json smoke-test.js
Which environment should the pipeline test?
A frequent mistake is pointing CI tests at the wrong target. Match the environment to the trigger:
- Pull requests - test against a stable staging or a freshly deployed preview environment, so a contributor’s change is validated without touching production.
- Merges to the main branch - re-run against staging after deploy to confirm the integrated result is healthy.
- Production smoke checks - a small, read-only subset of tests can run against production after a release to confirm the critical paths respond, while destructive tests stay off production entirely.
Keeping a separate environment file per target - and selecting it by branch - prevents a test suite from mutating data it should not touch.
Running tests on a schedule
CI/CD is not only about reacting to commits. Most systems can run a job on a timer, which is useful for catching regressions in dependencies or upstream services that change without any push from your team. In GitHub Actions you add a schedule trigger:
on:
  schedule:
    - cron: "0 */6 * * *"   # every 6 hours
The same test job then doubles as a lightweight health check, and the published report gives you a running history of how the API behaved over time.
Tips for reliable pipelines
- Use a dedicated CI environment file so base URLs and credentials point at the right target.
- Inject secrets from the CI vault, never commit them - reference them as masked variables in the workflow.
- Always upload the report, even on failure, so a red build is debuggable.
- Fail fast - let a non-zero exit code from the runner stop the pipeline.
Where Requestly fits today (and what is coming)
Requestly is a Git-native desktop API client. Inside the app you can build collections, manage environments and variables, write tests with rq.test and rq.expect, and execute everything with the built-in Collection Runner. That is a strong loop for authoring and validating your API behavior locally.
What Requestly does not have yet is a native CI/CD integration or test-report export - there is no command to plug a Requestly run into GitHub Actions, and no built-in JUnit or HTML report output today. Both are on our roadmap, not shipped. Until they land, build and debug your tests in Requestly, and use a command-line runner like Newman or k6 in your pipeline to execute tests and publish reports, exactly as shown above. We will update this guide as soon as CI/CD support and report export are available.
Author and validate your API tests locally: the Requestly API Client → is a Git-native Postman alternative with collections, environments, scripts, and a built-in Collection Runner.
Frequently asked questions
Why run API tests in a CI/CD pipeline?
Running API tests automatically on every push and pull request validates each change before it ships. Failures show up as a red build and block the merge, so broken endpoints are caught early rather than reaching production, and the whole team sees consistent pass/fail status.
How do I run API tests in GitHub Actions?
Add a workflow file under .github/workflows that checks out the repo, installs a runner like Newman, runs your collection with a CI environment file, and uploads the resulting report as an artifact. Because the runner exits non-zero on failure, the job fails and the pull request is blocked.
What is a JUnit report and why does it matter?
JUnit XML is a standard report format that virtually every CI system can parse. It lets GitHub, GitLab, and Jenkins display which individual tests passed or failed, track history, and annotate pull requests, turning raw test output into visible, actionable results.
How do I generate an HTML report from API tests?
With Newman, install the community newman-reporter-htmlextra reporter and add htmlextra to the –reporters list with –reporter-htmlextra-export pointing at an output file. The result is a self-contained HTML page with timings, request details, and pass/fail counts that humans can read directly.
Does Requestly integrate with CI/CD or export test reports?
Not yet. Requestly does not currently offer a native CI/CD integration or built-in JUnit/HTML report export. Both are on the Requestly roadmap. Today you author and validate tests in the Requestly app and use a command-line runner such as Newman or k6 in your pipeline to execute and report.
Should I commit secrets for CI test runs?
No. Store credentials as masked secrets in your CI system’s vault and reference them as variables in the workflow, rather than committing them to the repository. Use a dedicated CI environment file so base URLs and credentials point at the intended target.
Related reading: see the best API testing tools, learn to run API tests from the command line, and explore API load and performance testing.
Test any API request visually: import a cURL command or build from scratch in Requestly, the API client for developers.
Download →